(Note: this example has been setup with Windows XP OS. If some of the instructions don’t work on your OS, you may have to figure it out for your windows version, for e.g., by searching on the internet.)
1) Create shortcuts for the tools and files that you want to add to your shortcut bar ->
A. To create a shortcut of an application that exists in your Start menu, navigate to the application, right click on it, select ‘Send To’ option followed by Desktop(create shortcut) option. This will send the shortcut to your desktop.
B. To create a shortcut of a file or document, locate the file in Windows Explorer, right click on it, select ‘Send To’ option followed by Desktop(create shortcut) option. Creating a shortcut will ensure that only a link to your file is created, and when you click on the shortcut, the file located in the original location gets launched and edited.
C. If there is an application that’s not available through the Start menu, then you can locate it using Windows explorer, once found, right click on it, select ‘Send To’ option followed by Desktop(create shortcut) option to create a link to the application on your desktop.
2) Set up a folder called ‘My Tools’ under the root directory of your local drive (c:\My Tools). This will house all your shortcuts.
3) Cut and paste all the shortcuts, that you created above from your desktop to ‘My Tools’ folder
4) Right click on your task bar (task bar shown below), and navigate to Toolbars->New Toolbar (Click on the image below)

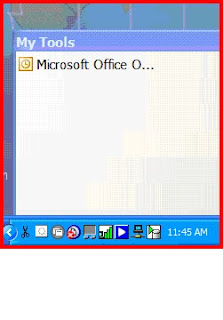
5) In the ‘New Toolbar’ dialog box, browse to ‘My Tools’ folder, and click OK. ‘My Tools’ toolbar appears on your taskbar. (Click on the image below)

6) Right click on your task bar again, and make sure ‘Lock the Taskbar’ option is unchecked.
7) Minimize all the applications on your desktop so your desktop comes in the forefront.
8) Drag the ‘My Tools’ toolbar from your taskbar by holding the left mouse key, and release the key to drop the ‘My Tools’ toolbar on your desktop. This separates your custom toolbar from the taskbar. (Click on the image below)

9) Right click on the ‘My Tools’ toolbar and make sure the ‘Show Text’ option is unchecked, ‘Always on Top’ option is checked, and ‘View-> Small Icons’ option is checked.
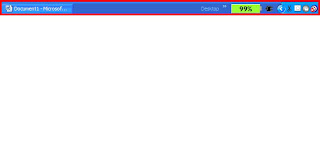
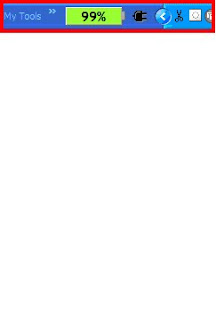
10) Drag the toolbar by holding the title of the bar with left mouse key and drop it at the top of your screen. Once you do that the bar automatically takes horizontal shape. Readjust the width so the bar takes the least amount of real estate on your screen. (Click on the image below)

11) Once your toolbar is in place, adding new items to it is very easy, bring up your item either through Start menu or locate it in Windows explorer, drag and drop the item on the toolbar using the right mouse button (not left). Once dropped, choose the ‘Create Shortcuts here option to directly create a shortcut of your desired application on the toolbar.
12) And that’s it. You are all set. All this hardwork for the initial setup will payoff as you can launch any application by clicking the appropriate icon on the ‘My Tools’ shortcut bar sitting on the top of your screen.
13) If you like to change the icon of one your items, right click on the item within the shortcut bar, go to properties, and click on ‘Change Icon’ button to browse through the icons you have on your machine and select the one you want.
No comments:
Post a Comment